1. Download Labtix.iso
Start by downloading and installing the FileZilla FTP client application from this link: https://filezilla-project.org/
Then, open FileZilla and connect to the Labdoo FTP server using these parameters (see also Figure 1):
Host: sftp://ftp.labdoo.org (this link can only be open once in FileZilla)
User: labdoo
Password: labdoo
Port: 22
| Figure 1. Use the parameters shown in this screenshot to connect to the Labdoo FTP server with FileZilla. |

|
In the 'remote site' window of FileZilla, go to the folder /install-disk. In this folder, you will find the file Labtix.iso. Right-click on this file with your mouse and select the option 'Download'. That way the file Labtix.iso will be downloaded to your local computer.
2. Create a bootable USB with Labtix.iso
Download the Universal USB Installer from this link: https://www.pendrivelinux.com/universal-usb-installer-easy-as-1-2-3/
Run this application by double clicking on the downloaded file. You will see the following screen, where you will need to accept the license agreement:
| Figure 2. Download and run the Universal USB Installer and accept the license agreement. |

|
Next, insert a blank USB pendrive into one of the USB ports in your computer. We recommend to choose one with at least 2GB of storage. Note that all the data you had previously saved in the pendrive will be erased, so make sure to have a backup copy.
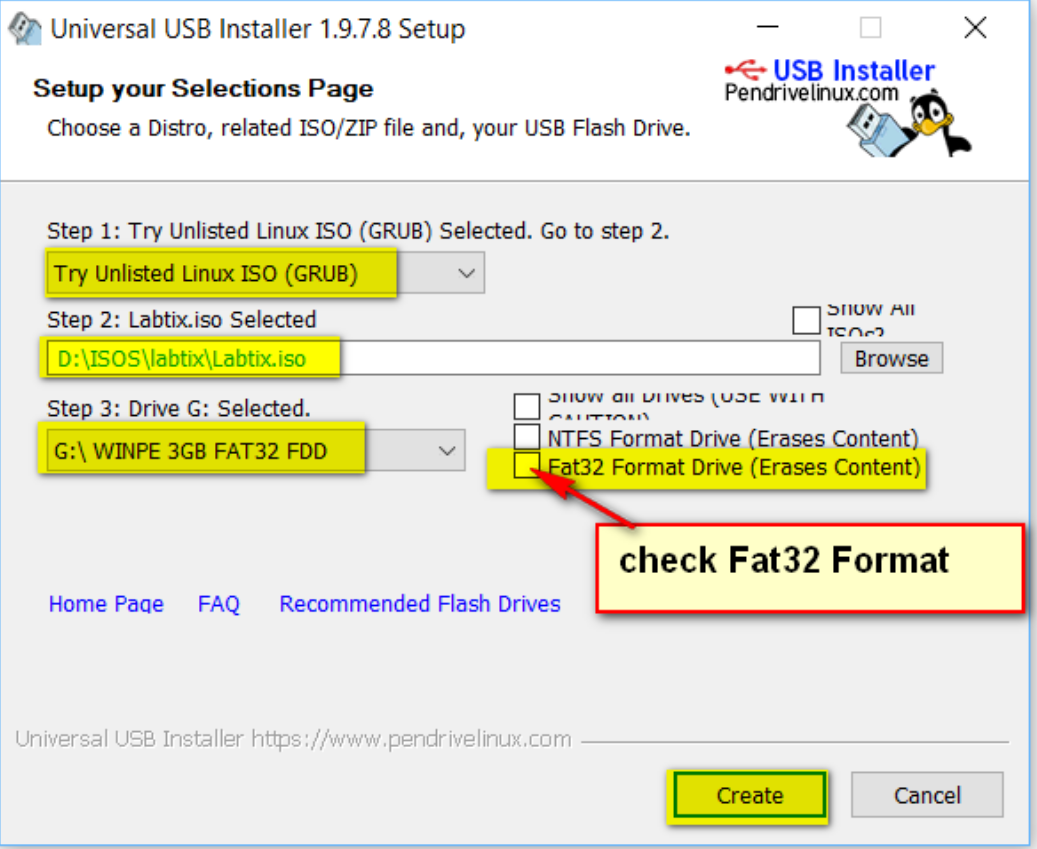
Then, fill in the fields in the next screen by using the parameters that appear in the next figure. As the screenshot shows, in the field Step 2 please select the Labtix.iso file previously downloaded and then select the corresponding USB pendrive in Step 3:
| Figure 3. Use the parameters shown in this screenshot to create the bootable USB pendrive. |

|
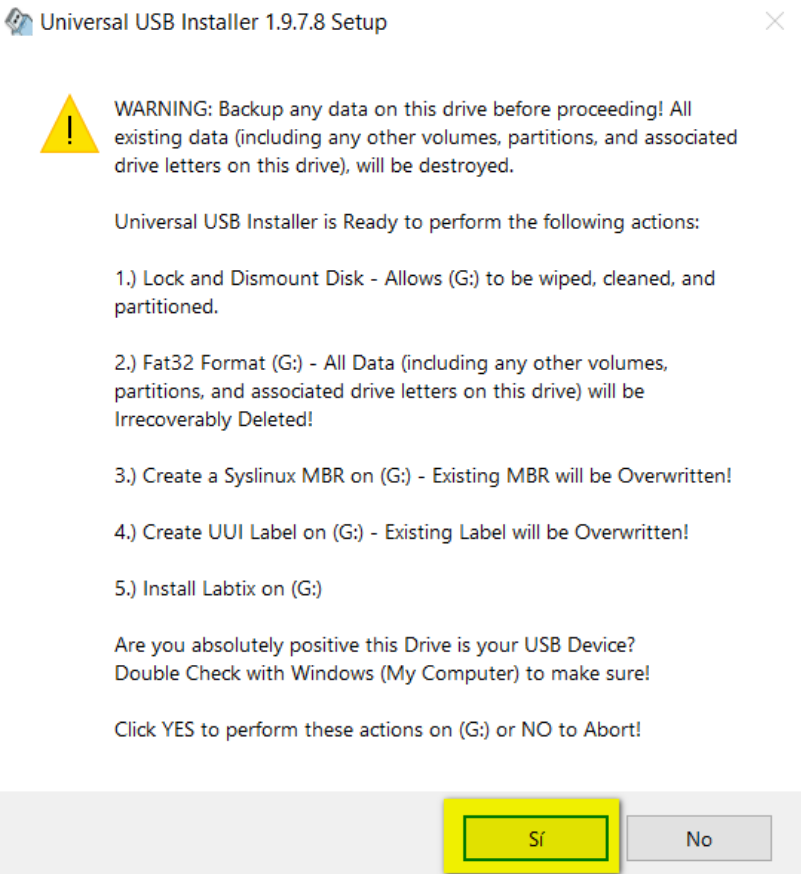
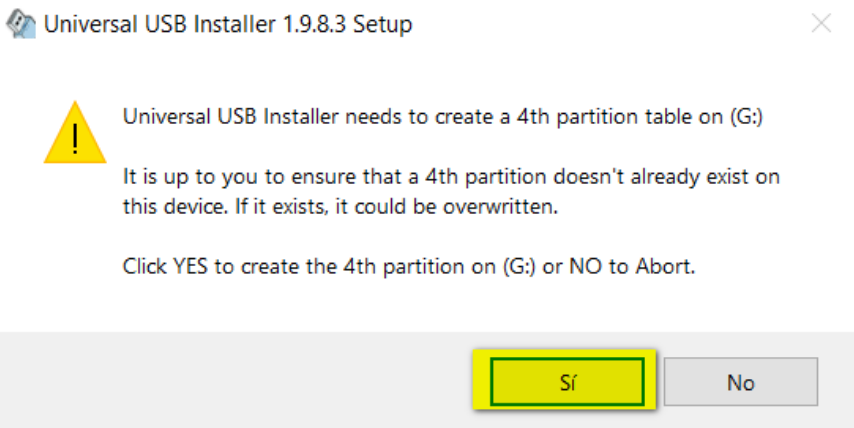
Continue by accepting every following screen as shown in the next figures:
| Figure 4. Accept this screen. |

|
| Figure 5. Accept this screen as well. |

|
That's it. Now you have a bootable USB pendrive with the Labtix ISO. Go to the next wiki page to continue with the sanitation process.
Continue reading to the next page:
Downloading the Labdoo Images
Go back to read the previous page:
Step 2: Sanitizing a Laptop

 If you have any questions about this page or if you find any errors,
please write a message to the