Install Disk Maker [in preparation]
Labdoo's install disk is used to distribute Labdoo images and educational content in order to install Labdoo systems. Despite the name Install Disk, images and educational content do not necessarily have to be on a hard drive. Local folders or shares on the local network can also be used. The installation is usually carried out using the installation scripts in the zzFM file manager in Labtix. After installation, additional educational content can be installed from Labdoo using the installscript_content.sh script in the “Scripts” folder on the Labdoo desktop.
In order for the Labdoo installers to work correctly, the following folder structure must be ensured:
For Images:
/install-disk/DE_German_images/22.04_LTS_EN_Basic
/install-disk/EN_Englisch_images/22.04_LTS_DE_Basic etc.
For Kiwix-Dateien:
/install-disk/wiki-archive/kiwix/wikis/DE/Lerninhalt.zim
/install-disk/wiki-archive/kiwix/wikis/EN/Learning_content etc.
For Offline-Wikis:
/install-disk/wiki-archive/wikis/DE/beispiel.tar.gz
/install-disk/wiki-archive/wikis/EN/example.tar.gz etc.
For control files ( content_lists ) :
/install-disk/wiki-archive/content_list/DE_120.txt
/install-disk/wiki-archive/content_list/EN_FR_80.txt etc.
The Content_Lists play a special role (see below). They serve as control files and contain the information about which additional content (wikis and Kiwix files) will be installed during the installation with the installer scripts in Labtix or after the installation with installscript_content.sh in Labdoo. Many Content_Lists already exist on the server. The name contains the minimum size of the hard drives on the devices to be installed. With every download, the contents of the content_lists folder are updated!
It is still possible to use Clonezilla in Labtix to create your own Labdoo images with a lot of content and save them anywhere and clone them using the Labdoo installer in zzFM or with Clonezilla in Labtix.
The Install Disk Maker tool is used to easily create an install disk or a corresponding folder using selection menus. Images and content can be saved specifically in a correct folder structure.
The advantage is that the entire install disk no longer has to be downloaded from the Labdoo servers, thereby significantly reducing download times and server utilization. In addition, individual compilations can be created more easily, e.g. if Labdoo installations with bilingual content are required. Simply download the relevant content to the install disk, create a corresponding Content_List (see below) and you have created the possibility for an individual Labdoo installation.
The install disk maker downloads the desired files from the Labdoo server (http://ftp.labdoo.org/download/install-disk/). A password is not necessary for this.
Of course the computer must be connected to the Internet!!!
The possibilities of the install disk maker:
- Reformat an empty hard drive and set it up as an install disk with content,
- set up a folder, hard drive or local share as an install disk with content,
- update an existing install disk or an existing install disk folder. The tool searches for existing files on the disk or in the folder and updates them if newer versions are available.
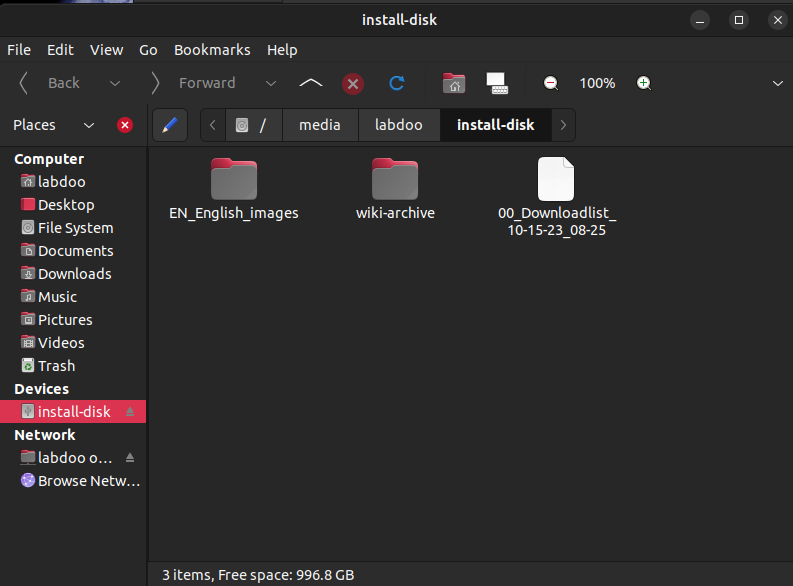
- update an existing install disk (or install disk folder) using an existing download list or repeat a download using a download list if there is an interruption. A download list is created with each complete run of the tool and stored in the target directory with a time stamp. The download list is a pure text file with a list of the ftp addresses used. It can therefore also be edited manually.
In general, if folders/files already exist in the target folder, only newer versions or versions with a different size will be downloaded. This also helps enormously to reduce download times and relieve the load on the FTP server.
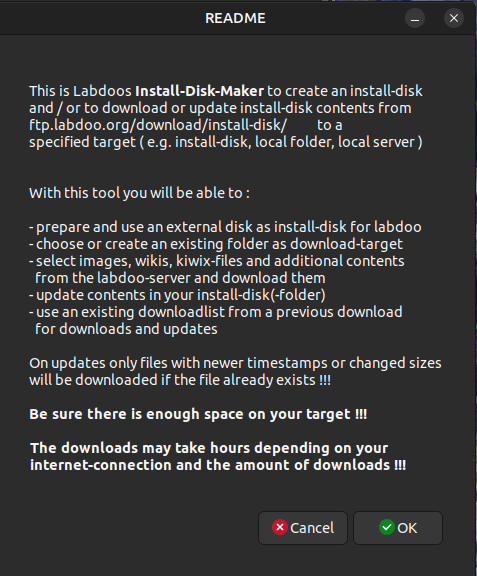
The install-disk-maker
The Install Disk Maker is a shell script with Yad as the frontend for the dialogs. It should run on all Debian-based systems. The dependencies are yad, wget and sed. If not available, these should be installed later if necessary. Simply copy the script to your computer, make it executable, double-click it and run it in the terminal when asked. The script is already integrated into Labtix and Labdoo. It is only available with English user guidance.
Starting the script:
In Labtix: Double-click on the corresponding icon on the desktop (from Labtix 2.10)
In Labdoo: /Desktop/Scripts/install-disk-maker.sh , logged in as user labdoo
After a short README, a selection list appears in which the further procedure is determined.
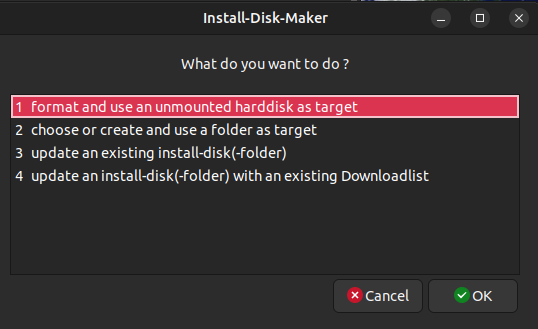
There are four options to choose from:
| 1 format and use an unmounted hard disk as target |
|
| 2 choose or create and use a folder as target |

|
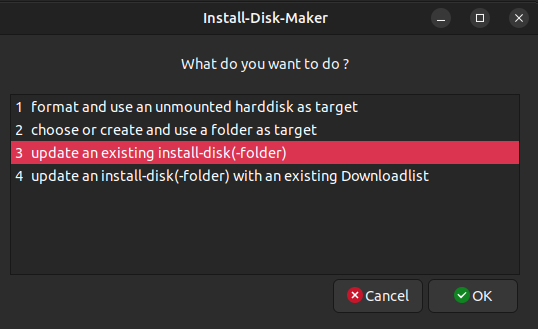
| 3 update an existing install-disk(-folder) |
|
| 4 update an install-disk(-folder) with an existing Downloadlist |

|
Depending on your selection, you will be guided to your destination via self-explanatory dialogues. Only option 1 requires you to enter the sudo password in the terminal once under Labdoo.
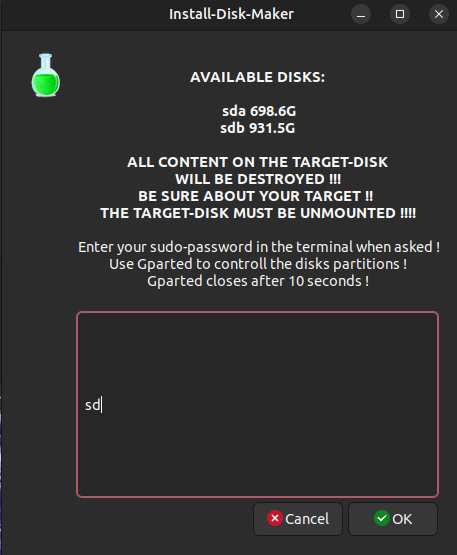
| Selection of the drive for the install disk. Often sda is your own system disk and sdb is the external drive; like in the screenshot. However, this can change depending on the configuration. |
|
| Entering the administrator password (sudo) |

|
| Should a download list from a previous download be used. Or should a new list be “clicked together” individually for download. |

|
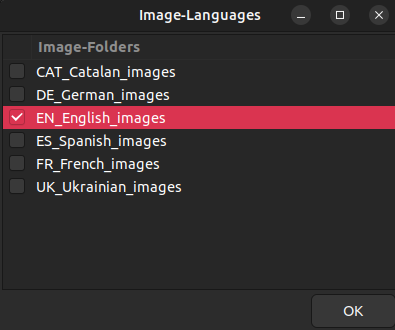
| Mark the images to download by language |
|
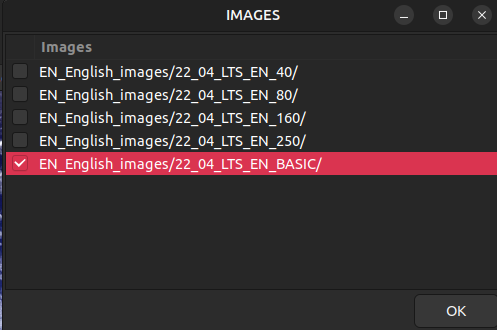
| Selection of images to load in the language folder |
|
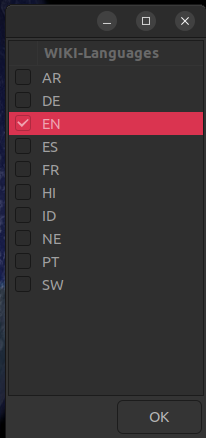
| Selection of wiki languages for browser-based content |
|
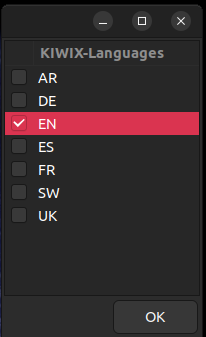
| Selection of wiki languages for Kiwix |
|
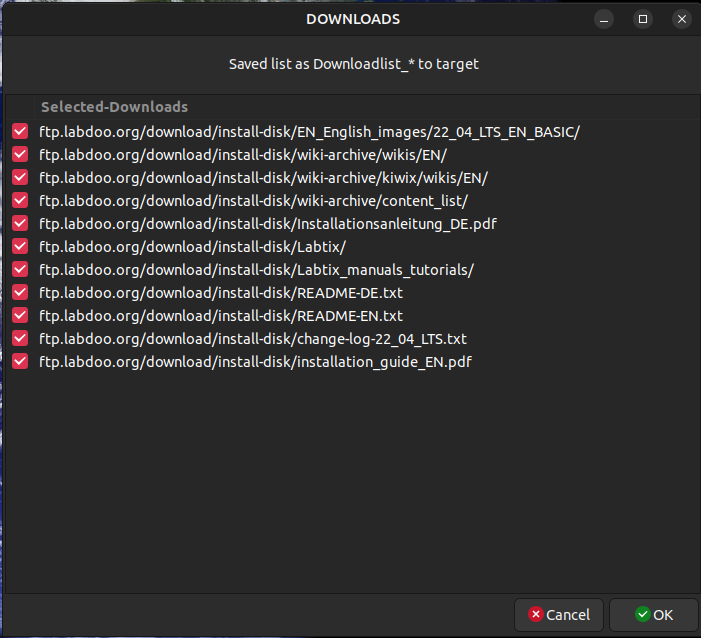
| Display of the selected content for confirmation |
|
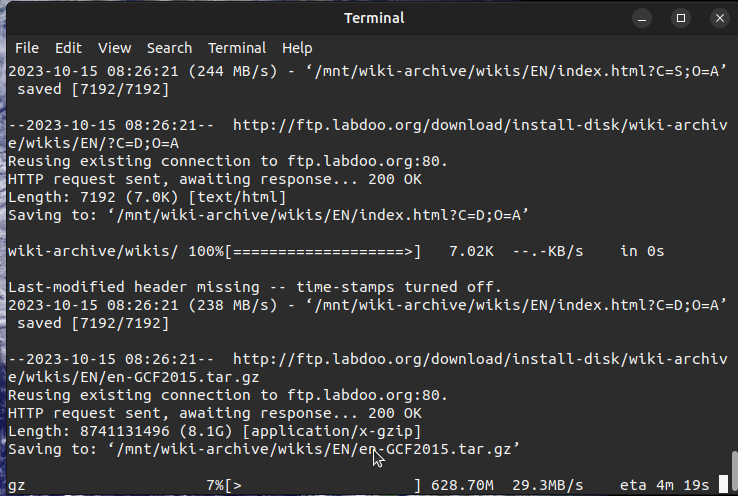
| Display of the download and progress in the terminal |
|
| Display of the download and the download list |
|
After closing the final “READY” dialog, the existing files and folders in the target folder or disk are displayed in the terminal. This is used to check the contents of the target folder or disk.
Pressing “Enter” in the terminal ends the script and the working folder is cleaned up.
While the script is running, it is possible to mount or unmount disks or shares using a file manager. It is not necessary to end the script.
If an external disk has been formatted, it must be removed from the device once after the script has ended and then reconnected in order to make it available to the system.
While the script is running, some auxiliary files are created in the working folder (or on the desktop in Labtix) which are deleted during the run. Some dialog windows allow you to abort the script and then delete these files. If the script hangs, for example because the connection to the server is interrupted, you can end it by closing the terminal in which the script is running. Some auxiliary files may be retained. To delete these, call the script again and end the "README" dialog with "Cancel". The work folder is cleaned up.
In rare cases, auxiliary files of the stream editor used sed with the name sed* appear in the working folder. These files cannot be edited, but disappear as soon as you close and reopen the file manager or restart the desktop in Labtix.
If you want to repeat the project, we recommend copying the resulting download list to a suitable location so that it is available at any time and/or can be passed on.
Building a control file (content_list)
The control files are pure text files that can be edited with any editor. Text processing is unsuitable for this!!!
Example EN_BS_80.txt (shortened):
=======================================================================
# Control file for automated post-installation of content, requires Labtix 2.09 or higher
# Control file for automated post-installation of content, requires Labtix 2.09 or higher
####lang_1
EN
# _80 = min. needed disk-size, 80 GB
####wikis_1
en-afristory.tar.gz
en-algebra2go.tar.gz
####kiwix_1
askubuntu.com_en_all_*.zim
ifixit_en_all_*.zim
wikibooks_en_all_maxi_*.zim
# Create new Firefox Tab for users labdoo and student to path labdoo/home/Public/wikis/EN (html file already exists in all Labdoo images)
####homepages_1
file:///home/labdoo/Public/wikis/EN/index-tutorials-en.html|file:///home/labdoo/Public/manuals/index-manuals.html|https://start.ubuntu-mate.org/|file:///home/labdoo/Public/wikis/EN/index-en.html
####lang_2
BS
# adds Bosnian content to an installation
# path /Public/kiwix/wikis
####wikis_2
####kiwix_2
phet_bs_*.zim
wikibooks_bs_all_maxi_*.zim
####homepages_2
file:///home/labdoo/Public/wikis/EN/index-tutorials-en.html|file:///home/labdoo/Public/manuals/index-manuals.html|https://start.ubuntu-mate.org/|file:///home/labdoo/Public/wikis/EN/index-en.html
======================================================================
It is important to adhere to the syntax of the tags (e.g. ####kiwix_2) so that the install scripts can evaluate the control file correctly. If you want to create your own control files, you will find many existing examples in the /install-disk/wiki-archive/content_list folder. These can be adapted to your own projects.
Continue reading to the next page:
2 - Click Installation Method
Go back to read the previous page:
Connecting to the Labdoo FTP server

 If you have any questions about this page or if you find any errors,
please write a message to the