 If you have any questions about this page or if you find any errors,
please write a message to the
If you have any questions about this page or if you find any errors,
please write a message to the
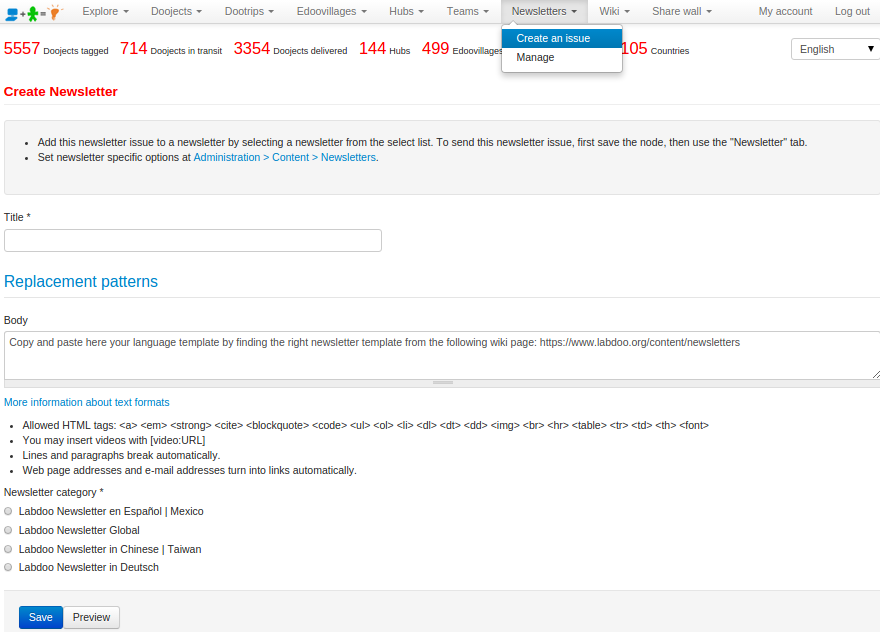
If you want to manage your own newsletter, please send an email to contact@labdoo.org and ask the Labdoo team to assign the role of 'Newsletter manager' to your account. Once this is done, you will see a new 'Newsletter' tab on the top Main Navigation Menu. By clicking on 'Newsletter' and then 'Create an issue' you will be taken to a dashboard where you can create and edit your newsletter as shown in the next figure.
| Figure. Click on 'Newsletter' and 'Create an issue' to go to the newsletter edit dashboard. |
|
You will need to select a title for your newsletter as well as the 'Newsletter category' corresponding to the newsletter your are managing.
The 'body' field includes the actual content of your issue. Start by copying and pasting from one of the templates that you will find in this wiki section. You can copy the template by clicking on the 'Edit' tab of the template page and then by copying the content from its body to the body of your new newsletter.
Once you have copied the template to your newsletter body, you can modify the small fields like the 'Issue number' and the 'Date'. In the template, you will find a set of sample news (all identical), each including a title placeholder 'Title of This News Entry Here', a text paragraph placeholder 'Write here one or two paragraphs describing this news entry.' and a sample image '/sites/default/files/styles/labdoo_flexslider_image_style/public/lbd_slides/guinea-conakry.png'. You need to substitute these three values by your own title, text and image for each of your news entries. (If you don't know how to upload pictures for your newsletter, read this other wiki page.)
Once you are done editing your newsletter and have ensured that it is correct, you can submit it to your list of subscribed users by clicking on the tab 'Newsletter' and then selecting 'Send newsletter'. Notice that the system allows you to also send yourself a sample of the newsletter issue by selecting the option 'Send one test newsletter to the test address'. We recommend you to do so prior to sending the final version out to your whole audience.