 If you have any questions about this page or if you find any errors,
please write a message to the
If you have any questions about this page or if you find any errors,
please write a message to the
- Insert the bootable USB drive that you created earlier
- Reboot. The rEFInd boot menu will show
- Select EFI\BOOT\grubx64.rfi from {your USB drive name} and hit Enter
- Select “Try Ubuntu MATE without installing”
- After a few minutes or so, you should see the Ubuntu desktop
- Click on Install Ubuntu MATE 20.04LTS
- Follow the screens to complete the installation. IMPORTANT:
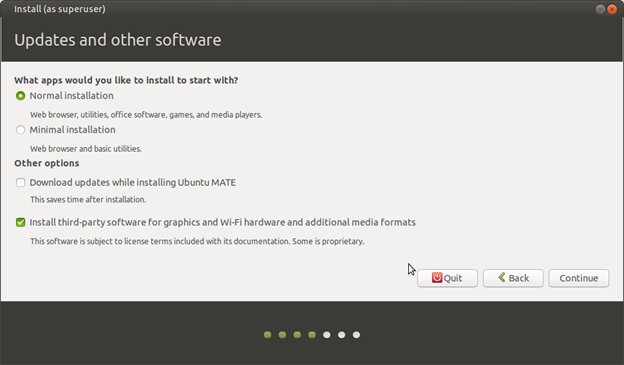
- Under the “Updates and other software” screen, make sure you select “Install third-party software for graphics and WiFi hardware and additional media formats”. Click Continue. Then connect to your WiFi network when prompted.
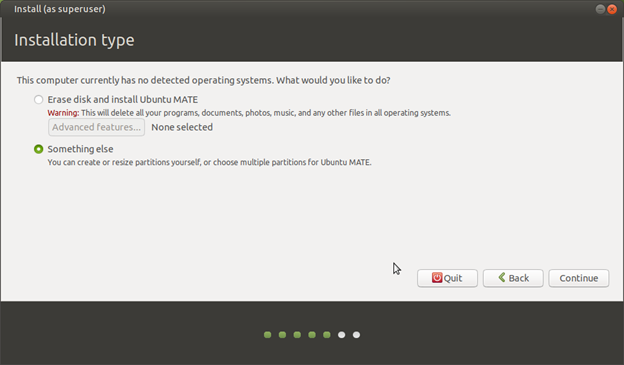
- Under the “Installation Type” select “Something else” option
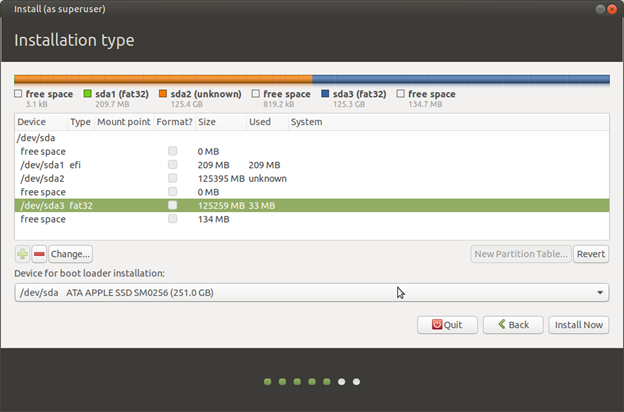
- Select the partition with format fat32 which we created earlier using Disk Utility
- Double-click the highlighted entry. A dialog box will pop up. Select:
Ext4 journaling file system
Check “Format the partition”
Mount point: /
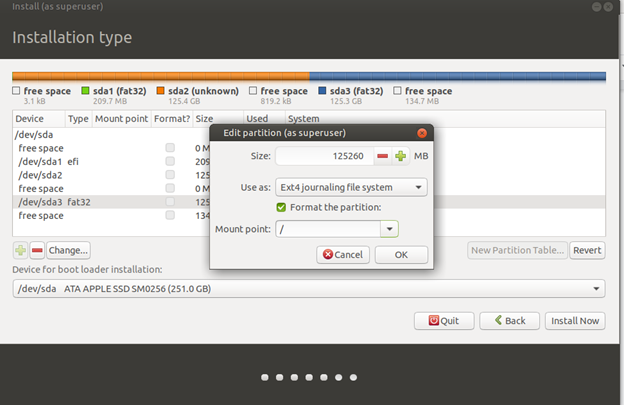
- Click OK
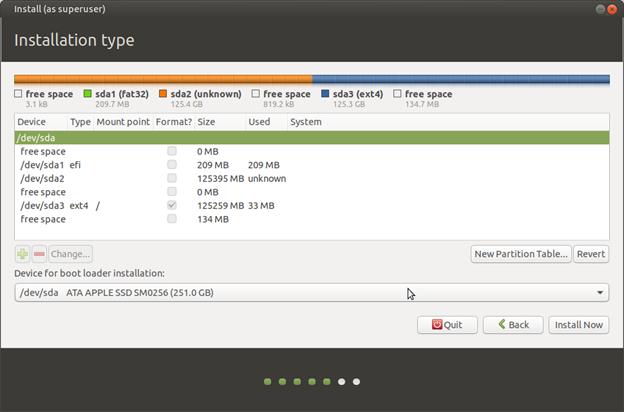
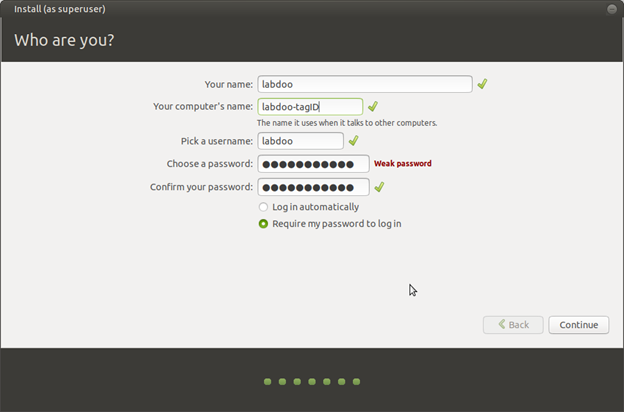
- Click “Install Now” and follow the screens to complete the installation. At the “Who are you” screen, create the labdoo account and use the tagID for the hostname:
- When the installation completes, click restart to reboot the system. Hold the Option key while the system reboots until you see the original boot menu
IMPORTANT NOTE:
The installation of Ubuntu overwrites the EFI boot area that we created earlier in the “Installing rEFInd” section. But without the EFI boot area, the Ubuntu installation would fail for some reason that I haven’t figured out. Thus, we’ll have to install rEFInd again. - Select booting from macOS partition and hit Enter key
- Repeat the steps in the Installing rEFInd section again
Continue reading to the next page:
04: Post Installation
Go back to read the previous page:
02: The Mac Side