 If you have any questions about this page or if you find any errors,
please write a message to the
If you have any questions about this page or if you find any errors,
please write a message to the
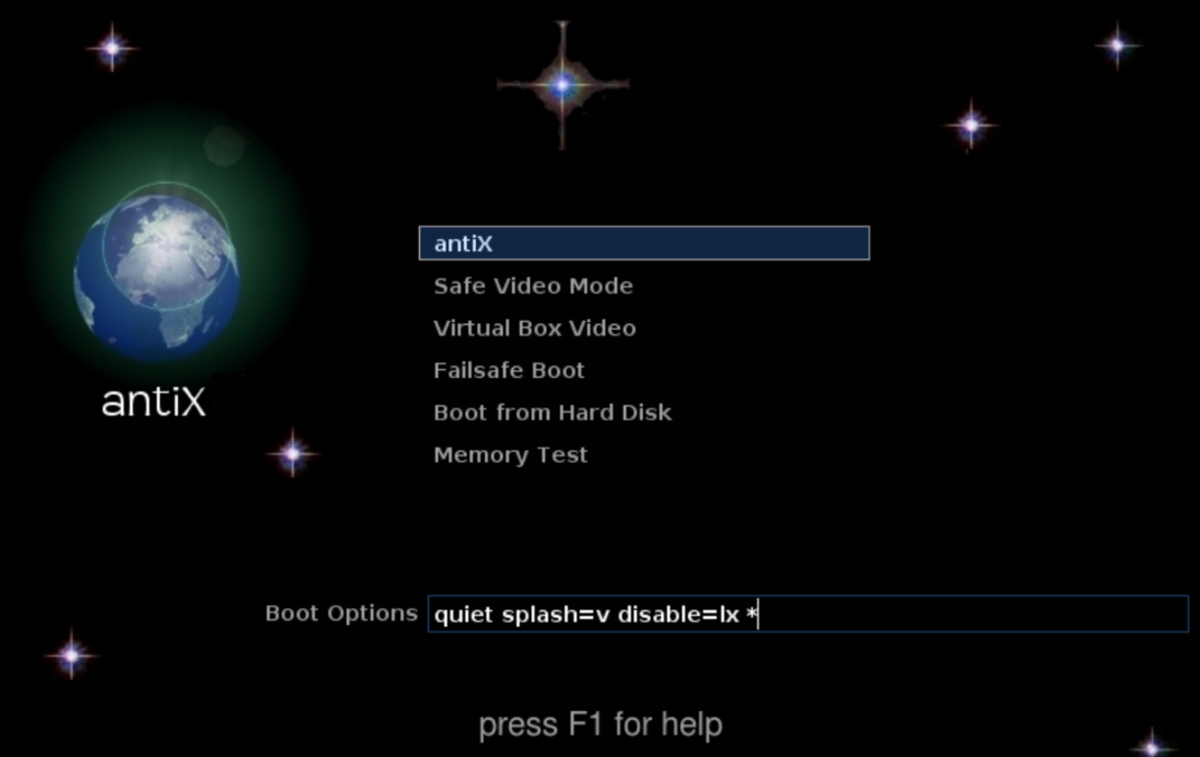
Plug the Labtix Bootable pendrive into one of the USB ports of the computer that you want to sanitize. Start the computer and verify that the Labtix software boots correctly. If it does, the following screen will show up:
| Figure 1. Initial Labtix screen when a computer is booted. |
|
If you don't see the screen shown above, it most likely means that you need to modify the boot order to make sure the computer properly loads the Labtix software stored on the USB pendrive. In this case, please follow the instructions on this wiki page to change the boot order of the computer and ensure that the USB pendrive is selected as the first boot device. After doing this, reboot the computer and, if the screen shown in figure 1 finally appears, you will know that Labtix is correctly booted.
Upon reaching the screen in Figure 1, select the first option "antiX" and press enter. This will take you to the next screen:
| Figure 2. Once in this view, double-click on the icon 'Labdoo installer'. |

|
Note that in the upper-right corner of the screen you will see a summary of the key parameters extracted from the laptop. It includes the following information:
- Vers: the version of the Labtix software that you are using. In Figure 2, this value is '1.01'.
- CPU: the type of CPU (32-bit or 64-bit). In Figure 2, this value is '64 Bit'.
- Boot: The name of the booting USB device where Labtix is running. In Figure 2, this value is 'sr0'.
- RAM: The amount of memory in the laptop. In Figure 2, this value is '2703' MB.
- Sdx: The name of the hard drive where the Labdoo image is to be installed and its size. In Figure 2, the name of the disk is 'sda' and it has '100GB' of storage.
In the screen shown in figure 2, make sure to enter the name of your computer's hard drive. This name is typically of the form Sdx (for instance, sda, sdb, sdc, etc.), but not necessarily; it depends on your computer. The actual name can be found in the 'Sdx' field located in the upper-right corner of the screen. For instance, in Figure 2, the name of the hard drive is 'sda'. To be sure that it is in fact the actual hard drive of your computer, you can double-click on the application GParted, which will show you all the drives attached to your computer.
Click on OK to go to the next screen:
| Figure 3. Parameters needed to initiate the installation. |

|
In this screen, you will need to specify the following parameters:
- Shred: This option specifies the number of times the hard disk must be shredded prior to initiating the installation of the image. The operation of shredding consists in writing random zeros and ones everywhere in the hard drive to ensure any prior personal information is completely erased. Labdoo recommends setting this value to 3, so that three full shreds are carried out, ensuring that all existing information is erased.
- Target disk: This corresponds to the name of the hard drive that you introduced in the previous screen (see Figure 2), which is the disk where the image will be installed.
- Disk size: This field specifies the size of the chosen disk. This size will determine what image you can install, since you can't select an image larger than this value. For instance, in Figure 3, the size of the chosen disk (sda) is 100GB, so you need to make sure you don't install an image that is larger than 100GB.
- Choose an image: In this step you will select the image to install. Click on this field, then select the option "Other...", and browse through the directory tree to select the image you want to install. In the directory tree, make sure you go to the external drive where you installed the images, and travel to the directory where you stored the image you want to use. Then, click "Open". This will populate the field "Choose an image": with the right path to your selected image. As mentioned in the previous parameter, make sure that the image you select is smaller than the size of the disk shown in the parameter "Disk size". By convention, the last value of the image name corresponds to its size. For instance, the image PAE64_20_04_LTS_EN_80 weighs 80GB, so you will need a disk with at least 80GB of storage.
- Hostname:This field corresponds to the hostname that will be assigned to the computer after the image has been installed. By convention, please always choose a name of the form 'labdoo-XXXXXXXXX', where XXXXXXXXX is the 9-digit Labdoo ID of the computer you are sanitizing, which you had previously generated in the section 'Tagging a Laptop'.
After you have populated all the parameters above, click "OK" on all the following screens. Then the actual process of shredding and installation of the selected Labdoo image will initiate. Note that this process could take a while, even more than an hour, depending on the size of the disk and the size of the selected image.
Continue reading to the next page:
Step 3: Delivering Laptops to a Project
Go back to read the previous page:
Downloading the Labdoo Images